
[lastupdate]
Worm composting, otherwise known as vermicomposting, is a method of composting that uses—you guessed it—worms. These little guys munch through about anything. When this organic matter passes through the worms the product is vermicompost. Vermicompost is rich in nutrients and plants approved. You can easily buy everything you need to get started online. The key tools are a container (which we examine options below), bedding, and of course worms! As mentioned, the main purpose of this article is to explain the benefits of worm composting and then provide an overview of the best worm composting bins of 2015 that help make the process more efficient, clean, and less smelly.
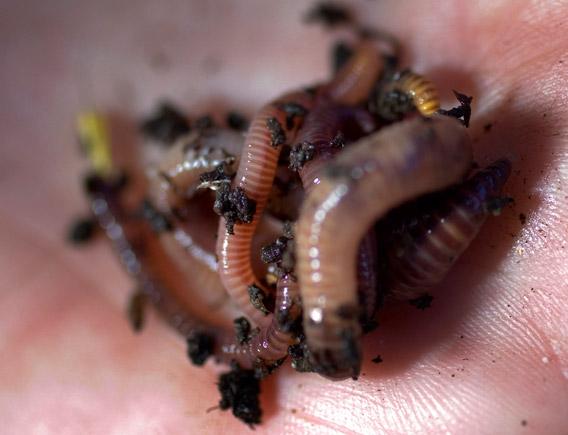
Vermicomposting can be a great way to transform your kitchen waste into nutrient-rich compost for your garden and planters. Whereas typical compost bins and tumblers rely on microorganisms like bateria and fungi to break down food particles into new soil, worms speed up the process. They grind food into tiny pieces with their strong muscles and particles of sand and grit, then microbes in their intestines finish the digestion process. The product? Dark, rich, beautiful compost with tons of nutrient rich castings (a fancy word for worm poop).
It’s important to know your stuff before you commit to vermicomposting. You can learn more about temperature control and what needs to go in with the worms to keep them happy in our helpful tips section. After that, we included a couple wormerys that will ease some of the stress to starting worm composting and help you start making your home a greener place!
Helpful Worm Composting Tips
 The recommended food and yard waste to worm ratio is for every two pounds of waste, one pound of worms should be ordered. The average price per pound of worms is about $30-$40. The nice thing is once you get going, the worm population will sustain itself and you won’t need to buy any more worms. A method you can use to figure out how much waste your home generates is to keep track of it for a week with a scale and divide by seven. That will give you an idea of how many worms to order. The safest route to go, especially if you are new to vermicomposting, is to order a bit less than you think you’ll need. This is because worm populations double about every 90 days, so if you start out with less the population will grow and stabilize to match your waste output.
You’ll also need a wormery composter bin. These provide an efficient, structured place for the worms to thrive. It also eliminates odors so you don’t have to worry about things getting stinky. Of course, if you are a DIYer you can make your own worm bin. Books like Worms Eat my Garbage give instructions on how to go about building one. You can place this bin anywhere that makes sense. Common locations include outside on the porch, the garage, or under the kitchen sink for easy access. One thing to keep in mind is that worms don’t like harsh winters (anything below 40 degrees Fahrenheit make them sad), so if you live in that sort of climate you’ll need to bring your worms indoors during those months. Another note: worms don’t like vibrations and noise. Therefore, keeping them away from high traffic areas is a smart idea to keep the worms happy.
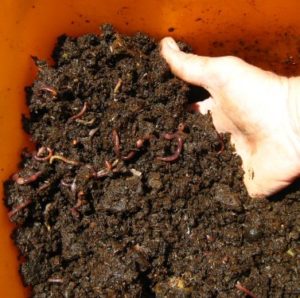
To set up your worm composting bin, there are some guidelines to stick to. The ultimate goal is keeping your worms prolific and thriving. The main guidelines are these: fill the bin with bedding about one-half full, keep the environment hydrated, and don’t use garden soil for the bedding. Worms prefer an environment of about 75 percent water. Also if you use garden soil or any type of manure in the bedding it will emit gasses that may cook your poor worms to death. Wetted and shredded cardboard, toilet paper, tissues, and newspaper are all good options for the bedding. To get things going, add a gritty material to the bedding such as egg shells, cornstarch, sawdust, leaves, fine sand, or soil. Once your bin is up and running you won’t need to add anymore of the gritty materials but you will need to keep an eye on moisture and cardboard/newspaper levels. After these steps, your bedding is complete. This bedding will mix well with any organic waste you decide to chuck in there.
Other notable information:
 Compost doesn’t actually smell. It’s unprocessed rotting foods that smell. If you give your worms appropriately sized meals and not supersized ones, they will consume it before the odor becomes an issue.
- Bedding should be moist, not dripping. If it’s too wet add some more paper scraps.
- You will know when the compost is ready by simply looking at it. Brown and earthy look means it’s ready.
- If your worms are trying to crawl their way out of the bin and up the sides, it means they are trying to escape what is likely acidic bedding. This can sometimes happen for example if you family eats a ton of oranges over a few days and many of the scraps get thrown in all at once. Your bin is supposed to be a utopian paradise for worms so if they are ever trying to escape you know something is up.
- While not common, fruit flies can also become a problem. The main reason for this is that you are overloading your worms with too many goodies. One way to help prevent them is to bury the food waste in the bedding. Also, you can always move to composter to another location to see if that helps.
Best Worm Composting Bins of 2018
Here are the most popular composters chosen by worms and humans alike.
Worm Factory 360 Worm Composter
Worm Heaven. That pretty much sums up anything that Worm Factory creates. Those little creatures will be in paradise while contributing to the breaking down of your kitchen waste and your green lifestyle! This particular model includes four trays, but can be expandable to 8 with additional purchases once your wormery is ready for a higher capacity. The built-in compost tea spigot will make draining no problem, and even with ventilation this composter does not produce strong odors. That means that in the winter or extreme heat, moving the worm bin into a garage or storage shed will not stink things up. Worm Factory also includes a worm composting kit with a DVD to get you started, and it’s backed by a 10-year warranty. It’s the best way to start vermicomposting in 2015! There is three tray model available as well if you are wanting to start a bit smaller.
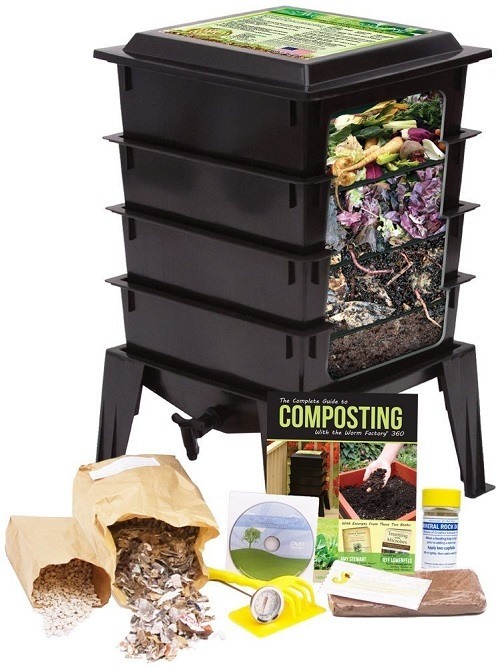
- Size: 18 x 18 (3-5 trays; expandable to 8)
- Weight: 9 lbs.
- Best Features: Expandable, Odorless, 10 Year Warranty, Comes with DVD to help set up
VermiHut Worm Compost Bin iTower
VermiTek is in close competition with Worm Factory with the creation of this iTower Worm Bin that comes with five trays as well. With no odor, this could easily be an indoor composter. It comes with a whole starter kit, with a thermometer, so if you put it outside keeping track of the comfort zone temperature for the worms is extremely easy. VermiTek also brags that the airflow is “25 times higher” than that of Worm Factory, so although they are a lesser known brand in the vermicomposting world, they are nothing to sneeze at. This is a solid composter that will give you a great start, and it is rumored by customers that Worm Factory trays fit on this model for expansion- which can sometimes be easier to find.
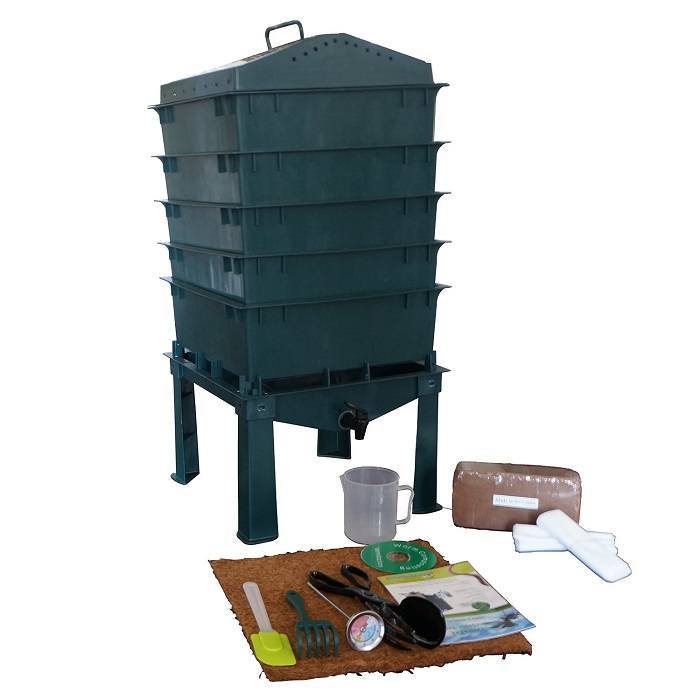
- Size: 19 x 19
- Weight: 12 lbs.
- Best Features: Air Flow and Bonus Starter Kit